Working from home or online education is becoming more common than ever before due to the occurrence of pandemic COVID 19 in two recent years. The demand for printing, as a result, increases remarkably.
Also, the provision of printers these days has been much more accessible, which encourages the number of people owning a printer at home. If you are considering purchasing a printer at home to meet your needs, this article is completely for you.
In this article, there will be an A to Z guideline on how to set up your printer, and it is easy to follow. Now let's kick into it!
1. Guideline To Set Up Your Printer At Home

If you are reading these lines, this is probably your first time setting up a printer at home. You may think it is tricky to set up one but it actually should not cause you difficulties in the process. Here is the set-up process you need:
Prepare to set up
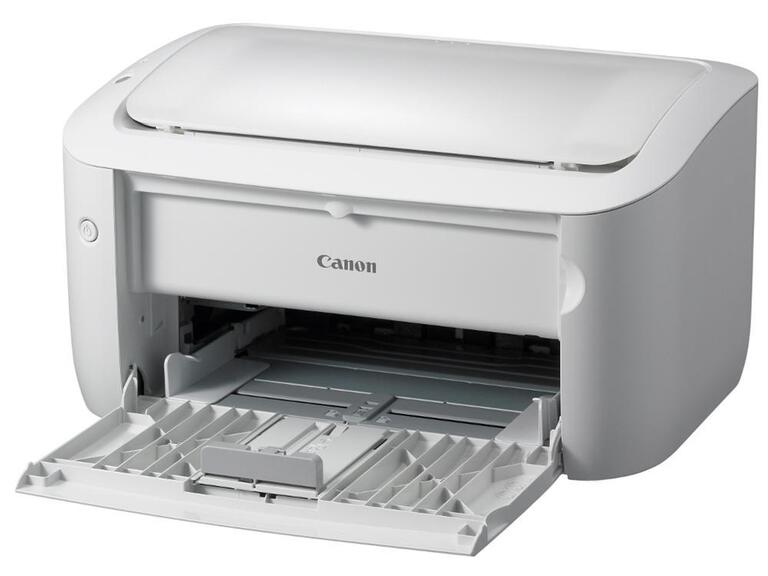
Firstly, after getting your printer delivered, unbox your printer along with all the items that come with it. Place them on the table or ground, make sure that they are in a nice and clean space, then continue to unwrap all the tapes surrounding them. There you go step one, nice and easy.
It greatly depends on the manufacturer for placing the protection tape around the printer, but the principle rule when talking about these tapes is to press your printer gently and remove the tapes from bottom to top or from left to right.
Install ink for the printer

Carefully remove the latch and open the ink unit cover and insert the link provided. Each brand has a different layout, so the way to open the cover and put the toner cartridges into the slot is also somewhat different. At this point, checking the instruction book thoroughly is vital.
If you are using models with black and white laser printing function then:
- Step 1: Open the front cover of the printer, which is located below the control panel.
- Step 2: Remove the cartridge from its packaging and remove the paper that covers the cartridge.
- Step 3: Gently shake the cartridge 5-6 times in the direction of the arrow to evenly distribute the ink.
- Step 4: Insert the toner cartridge into the printer ink slot. In this step, if you want to insert the ink tank smoothly, take a few seconds to observe the structure of the input slot, the retaining pins on the printer, and the shape of the cartridge in advance. You must not press hard on the slot when the toner cartridge gets stuck, and be careful to avoid collisions between the ink tank and the printer, as well as the damage to the printer drum.
- Step 5: Once the cartridge is placed probably, put back the cover unit, and that's the finish line for this stage.
In case you are dealing with a model with color printing functions:
- Step 1: Find the cover unit and push it gently to open your printer's front cover.
- Step 2: Take the ink cartridges coming with the printer and remove the adhesive protecting the contact heads. You mustn't touch the circuit of this contactor.
- Step 3: Observe the ink slot. Then, install the ink tanks in turn according to the order of colors printed and the attached instruction book. Especially, after inserting the ink cartridge into the slot, press lightly, and should you hear a "click" sound, the ink tank has been successfully installed.
- Step 4: All you have to do now is closing the cover unit
Load In Your Printing Paper
- Step 1: Before connecting your printer to your computer or plugging in the electricity, you first need to load in the printing paper. Hence, at this step, open the sheet tray cover, then squeeze the paper bar as you pull it out.
- Step 2: Grab the printing papers prepared before and place it probably into the sheet tray
- Step 3: This step can be tricky for some people. At the third step, Pull the holding pins as close as possible to the paper edges. This is going to prevent any stagger that occurs, and your printing will be equal from one to another.
- Step 4: Putting the sheet tray cover provided to protect your printer and paper from insects for further usage and maintenance is the final step in this part.
The stage of loading in printing papers mostly follows the step above in printers of all brands. The most principle rule in loading paper is that you pay great attention to the pins and ensure that they hold tight to every edge of your paper. Who would want messing printings as they have just installed a printer at home?
Connect Your Printer
At this stage, reading the instructions attached thoroughly is a must-do because the connecting process is different for each product, and the manufacturers have listed exact details in every instruction book. Nonetheless, keep this in mind: You don't connect the power source before the USB cable or phone cord. Here are the steps to follow:
- Connecting phone cord
By connecting your printer to a phone cord,your printer will be multi-functional, enabling sending and receiving faxes. You will barely engage in any situation as the connection thing here is quite simple. All you need to do is to plug one end of the cord into the jack connector on the machine. The other phone cord end is into the phone signal pocket.
Add one more extension line or a phone to receive calls at the EXT slot, then you should be fine.
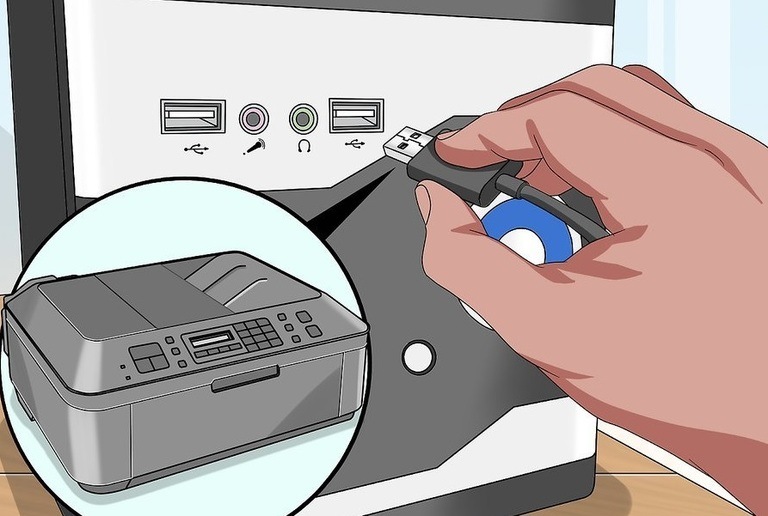
- Connecting the USB cable
Every printer comes with a USB cable, and that cable is used to connect your printer with your computer. As you connect the USB cable, find one end and plug it into the printer slot, which is marked for USB. The other one is into the computer USB port.
- Connecting the LAN cable
The LAN cable is similar to the phone cord: one end is into the printer, the other is your computer, and that's done!
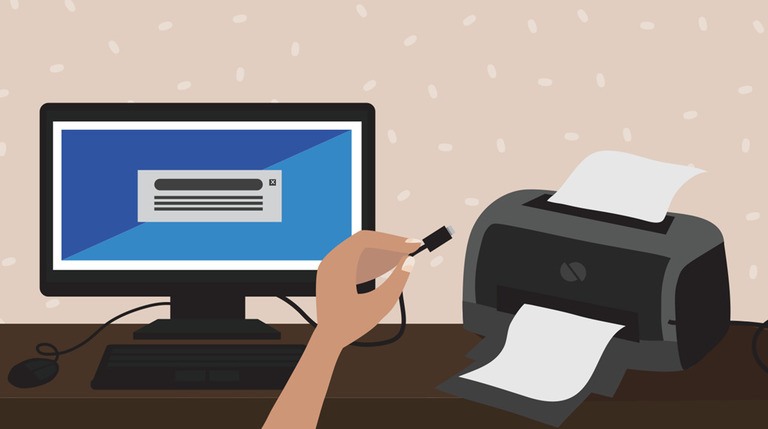
- Connecting the power source
The last task to conduct is connecting your printer to the power source. First, connect your printer by plugging the power cable, then press the power switch (usually located on the back of the machine) to turn on the printer. One note is that a few printer models do not use power directly but go through an external adapter. Therefore, you need to attach the output cord of the adapter to the printer before supplying power. Completing this step means you have cross the finishing line!
2. Further Tips To Keep In Mind
Placing your printer on a flat and sturdy surface

Placing your printer on a flat and sturdy surface helps to enhance the printing quality and maintain your printer for longer. Also, your printer shouldn't be placed where the temperature is too hot or cold. The best environment for your printer is from 20 to 27 degrees Celsius and dry. It should not be placed directly under the sun, either.
Paying attention to when you should refill the ink
After a period of use, your printer ink would run out, so it is best to check often, or based on your user demand. Refilling is easy as you can do it yourself, following the instructions from the manufacturer, or take a service. The price range for this is not high at all, which is about 6 USD to 30 USD
Checking your printer every six months
When using a printer, you should check it once every six months to make sure that things are going well, and also clean it often. Moreover, suddenly turning off your printer is not recommended as it affects your machine's longevity and quality.
Conclusion
Behomemate article should end here. We hope that we have provided you with useful information and tips in terms of installing a new printer. Follow the steps and guide above and you should be fine!


