You need the right display to get the most out of your system. If the screen is dim, you won't get the most out of your game or get the most out of your gaming device's potential.
Once the installation of your gaming monitor is complete, you'll want to set it up and configure it properly to ensure you get the most out of it. We would like to give you some information on how to set up a gaming monitor.
How To Setup Gaming Monitor
1. Choose the right equipment
1.1 Get the right monitor for the job
If you have access to multiple monitors, you'll want to take a moment and determine which monitor provides a good console experience. Variant consoles might have many display needs. If you want to experience the game as intended, try to get the best monitor for the job.
On the other hand, you can also set the best picture for newer consoles like PS4 or Xbox One if using a full 1080p High Definition (HD) display. Connecting the HD console to the CRT (tube) will result in a fuzzy mess.
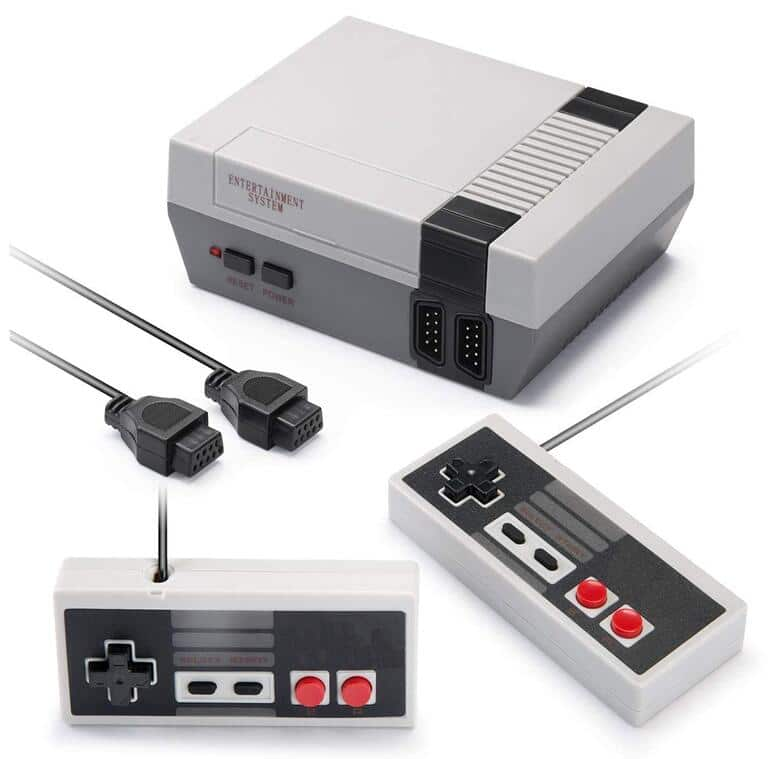
Mostly, older consoles that don't output in HD will look much better than older CRT monitors. Using a CRT for a system like the NES or Sega Genesis will result in much more accurate sharpening. Besides the picture quality, will improve your control in the game. This is due to the high refresh rate of CRT monitors. The refresh rate is the rate at which the monitor updates the image on the screen. Connecting an older console to an HD display may result in poor controllability due to the low refresh rate. From there, the image will be stretched.
1.2 Check the connection ports of the monitor
This is quite an important step, as you need to know before you start connecting your console. Most modern monitors support HDMI and DVI connections, but VGA is still available. Older monitors may have only VGA and DVI or only VGA. Very few monitors will have compositing (RCA) support, which is what many older consoles use.
In general, modern consoles can be connected via HDMI. Most monitors have a connector on the back. The monitors only have one connection port that is based on each individual budget. Older monitors might not have any removable cable.
HDMI - As a long USB plug with slots on both ends. There is the most common connector for consoles and modern monitors.
DVI - This 24-pin connector is a common connector for monitors. It is not intended for use with any video game system. But they are replaceable.
VGA - An old standard for monitors. Its 15-pin connector is usually blue. Most new monitors will not get this connector. None of the consoles support this, but an adapter can be received.
1.3 Check the output ports of the video game console
Different control panels have different display connection methods.
HDMI is the newest method, and the oldest method is RCA and RF.
PS4, Xbox One, PS3, Xbox 360, Wii U - All these consoles support HDMI. Particularly the launch version of the Xbox 360. These consoles also support component cables, although very few monitors do.
Wii, PS2, Xbox, Gamecube, Nintendo 64, PS1, Super Nintendo, Genesis - All support composite cables. The Wii, PS2, and Xbox also support components and S-Video, although it can be difficult to find a monitor that does. Older consoles also support RF (coaxial) connections, which are essentially non-existent on the display.
1.4 Audio converter

If the monitor has speakers, sounds can be taken from the control panel to play through them. The monitors don't have speakers, though, so something will need to be able to play sound from the console. You need an adapter to connect the console's audio cable to speakers or headphones. If connecting via HDMI, a separate audio cable will be required because HDMI cannot connect to the speaker.
New consoles like the PS4 may only support digital/optical audio output if you're not using HDMI for audio, which means an adapter will be needed to connect to the speakers.
If you're using a PS4 and a headset, you'll be able to connect a pair of headphones directly to your controller, meaning you won't need any additional adapters or cables.
1.5 Connecting a video switch box for a console without HDMI
Sometimes you need something to convert to HDMI or DVI to connect the old console to the new display and need many converters for that. Alternatively, older multi-panel support boxes can also be purchased with one HDMI or DVI output for the display. Besides, there are still some video converter boxes that can also support audio connection.
1.6 Get the right cable
The consoles can only come with one video cable. The PS3 may come with a composite cable, but it does support HDMI. Purchase the necessary cables to make the best quality and easy connection to the monitor.
HDMI cables work the same for all HDMI-enabled devices. Older connection types will require a specific console connection cable. Furthermore, if the console only has HDMI and the monitor only supports DVI, then an HDMI to DVI adapter or special cable can be purchased.
2. Connecting the panel
2.1 Connect HDMI cable to both console and monitor
If you are using HDMI, it will take time to connect your console. Plugging the HDMI cable into your console and the other end will come into your monitor.
Skip to the next part after connecting for the sound to work.
2.2 Connect the console video cable to the switch box
For most older consoles, you will connect to the display via a switch box. Match the color of the plug to the converter box. Make sure all console plugs are in the same INPUT group on the switch box.
Many switch boxes also have an aisle for connecting to a computer. This allows the display of the monitor to be switched between the computer and the console. If the box supports this feature, be sure to connect the box to the computer monitor port.
2.3 Connecting the switch box to the monitor
Use an HDMI, DVI, or VGA cable (depending on the box) to connect the monitor to the OUTPUT or MONITOR port of the converter box. Make sure the monitor is off if the VGA cable is plugged in.
2.4 Select the correct input
Select the correct input to see the console screen. If there's only one input, you'll see your console as the monitor and the console enabled.
3. Receive sound
3.1 Connect a separate audio cable for HDMI connection

The audio cable needs to be dedicated to the console. If you can use composite or component cables to transmit the audio signal when connecting via HDMI. Newer consoles also only support a dedicated optical connection for audio.
3.2 Connecting the audio cable to the adapter
In general, switch boxes will have inputs and outputs. Connect the two audio cables (Red and White) to the appropriate plugs on the Input side of the box.
3.3 Connect your speakers or headphones to the output of the box
To match speaker plugs by color if computer speakers are connected. Therefore, when connecting headphones, use the green plug on the adapter. Also, some converters only output a single plug, in which case you can simply plug your speakers or headphones into it.
3.4 Set console audio output (HDMI connection)
You'll need to adjust the console's settings so that it outputs audio via an audio cable instead of an HDMI cable. Because the process of changing the console's audio output varies depending on the console. Generally, this option can be found in the Sound settings in the main Settings menu of the control panel.
Wrapping up
Finally, if you want to quickly adjust any settings. You can customize the shortcuts in the on-screen display of your monitor.
To set up keyboard shortcuts, open the OSD and look for the Shortcuts option if your screen allows it. It will provide several assignable locations for several different features for quick access. From there, your monitor can also help. Custom settings allow you to create several "configurations" based on your preferences for different games or activities.


