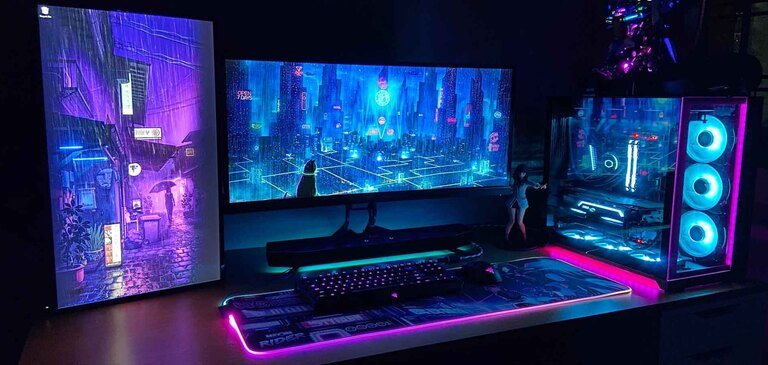
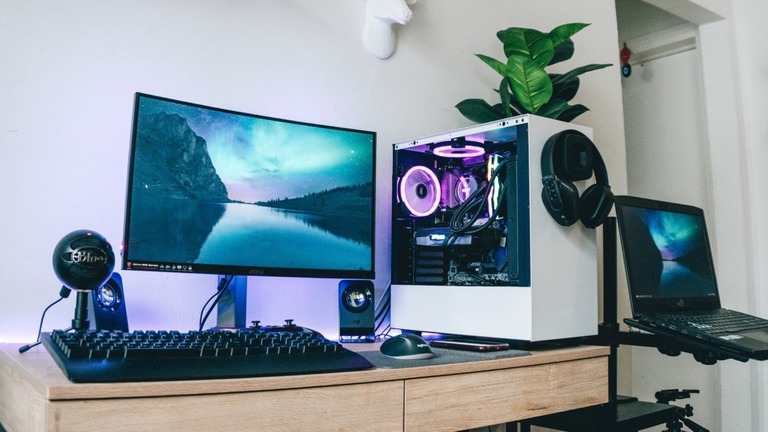
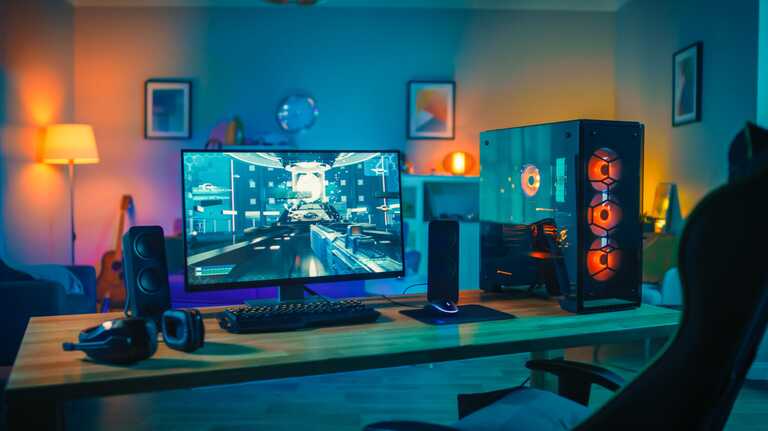
There has been a lot of discussions on whether we should build a gaming PC ourselves or have it prebuilt. Building a gaming PC at home is not a trickery task for gamers though. But if you are new to the gaming world, it can be difficult at first. But there is no need to worry because we have full instructions on how to set up your self-built gaming PC in the upcoming sections. We will also point out the advantages of self-built, compared to the prebuilt one.
1. What Do You Need To Prepare?
Before going straight to the building part, we need to take a glance at the tools and devices you need to prepare. The list is quite long, and all parts are necessary for your self-building process.
PC Build Tools
- Screwdrivers: this is the first thing you need when you want to build a PC yourself. You need a Phillips #2 screwdrivers for the setting process, and an additional #0 one if you install an M.2 PC.
- Workspace: prepare yourself a comfortable, clean, and neat working space while you build your gaming PC. Even though this may sound like an evident factor, we think we need to add a reminder to all PC builders.
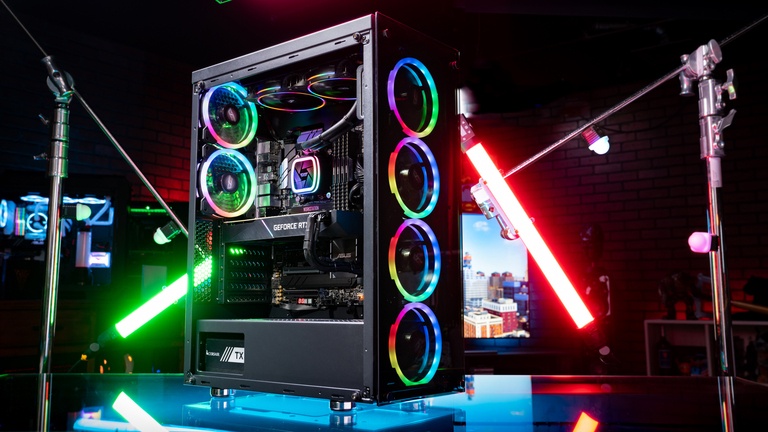
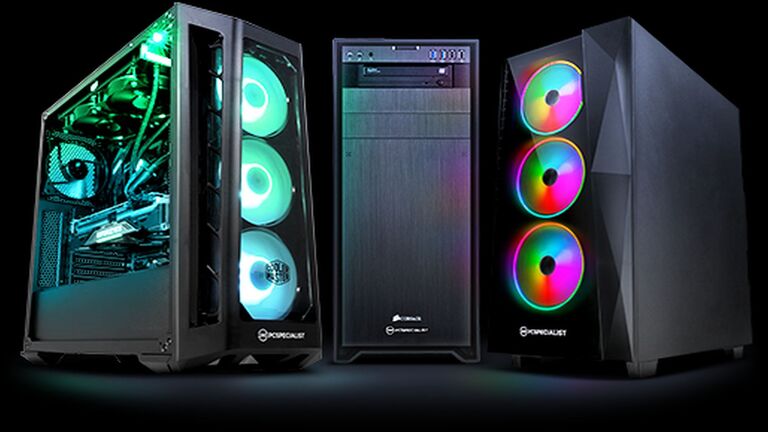
Gaming PC Cases
Gaming PC cases, as many people believe, are not crucial. But we don't think that is the context. The PC cases, or at least PC case sizes, will help you determine the space needed for your gaming PC. As we know, there are three PC sizes - full-tower, mid-tower, and mini-tower. Hence, preparing your PC case for the process is advisable.
Gaming PC Components
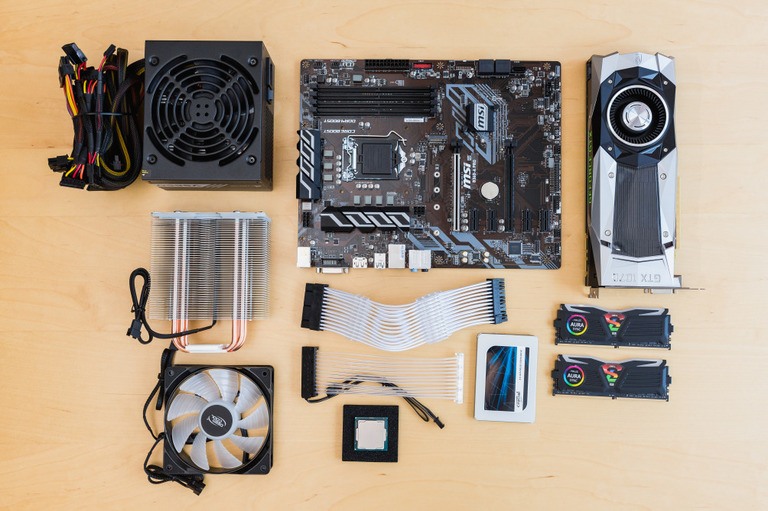
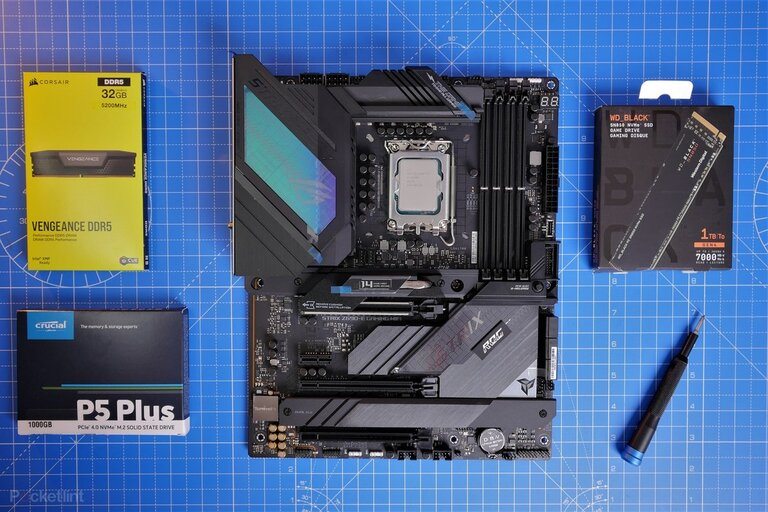
You should pay close attention to the list of components, especially the newbies. Here is the list of gaming PC components you need to prepare to build one.
- CPU (Central Processing Unit): This is the unit that creates a computer program. The CPU is the core of every computer.
- Motherboard: the motherboard provides connections among the hardware parts of your computer.
- RAM (Random Access Memory): The RAM is the temporary data source that our computers use actively.
- GPU (Graphics Processing Unit): GPU renders images. It is the primary component in gaming PCs.
- System cooling: The function is as its name. It cools down your computer when the temperature is higher than the limited level.
- OS (Operating System): The OS manages all software and hardware in your computer
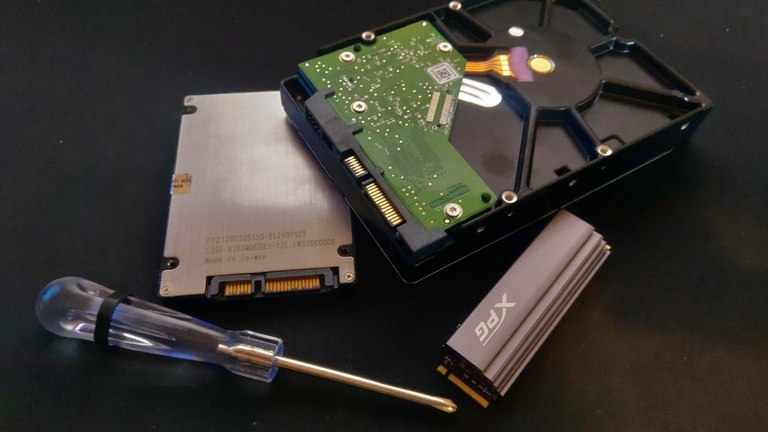
- Storage: SSD or HDD is used for storage. Storage is for storing all applications, files, and games.
- PSU (Power Supply Unit): PSU is in charge of your computer power supply.
2. The Process of Setting Your PC (Self-Built)
Installing CPU
Now for the first step, you must take the motherboard out of its packaging, then find the CPU socket, which lies in a protective plastic cap. As you have located where the CPU socket is, you will see a metal lever. Press it lightly and pull it aside to open the socket tray. All needs to be done gently as the CPU is highly vulnerable to physical movement. Hold the corners, and do not touch its surface when you take it out to prevent any future damage. Then, look at the corner and find an arrow. Line that arrow up with an arrow you would see on the CPU and locate the CPU onto the socket. This step must be done as gently as possible.
Installing M.2 SSDs (Not compulsory for your gaming PC)
This is for M.2 SSD devices. You must first find the M.2 on your motherboard and remove any screw on it with the Phillips #0 screwdriver. Do not lose any screw while doing so. Gently slide the M.2 into its slot. After the M.2 is seated properly, your motherboard should stand off in a corner of 35 degrees. Finally, place the SSD down and firmly locate it with a tiny screw.
Installing CPU cooling device

The CPU cooling device is divided into many groups, and you can pick whichever cooler you think would suit your PC the best. Every cooler comes with a manual, which we highly suggest you consult. The detailed instruction for the cooler is included in the manual attached. At this step, follow the instructions given as close as possible.
Installing RAM (Also Known As Random Access Memory)
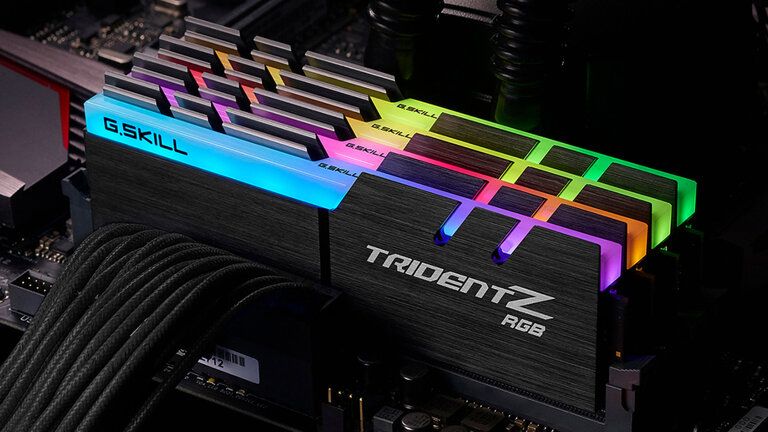
Installing RAM would require you to determine how many RAM slots you want to place. If you want to fill all the slots, just simply snap them in. This step does not ask for much technical skill like the previous ones.
Testing Your PC Before Using
For the test, install your GPU and connect them all with a power source to conduct the test. Read your user manual carefully when installing the GPU. Once again, keep your installation as gentle as possible since we don't want any damage to happen.
Now you can tell which part is going wrong or not functioning. You must replace the components if they malfunction or stop working. If nothing malfunctions, uninstall the GPU and disconnect the power source.
Connecting The Power Supply
In this step, you have to unpack the PSU, locate its situation, which can depend on the PC case, which has been mentioned previously. Ideally, your PSU would be placed where it can get air ventilation for a better performance while you use the PC.
Installing Motherboard
If your motherboard comes alone as a big piece of metal, use your Phillips #2 screwdrivers to lock it in its position. The corners can be sharp, and you may want to pay attention to your fingers while dealing with the motherboard. We have almost finished the tasks in building a gaming PC.
Installing GPU
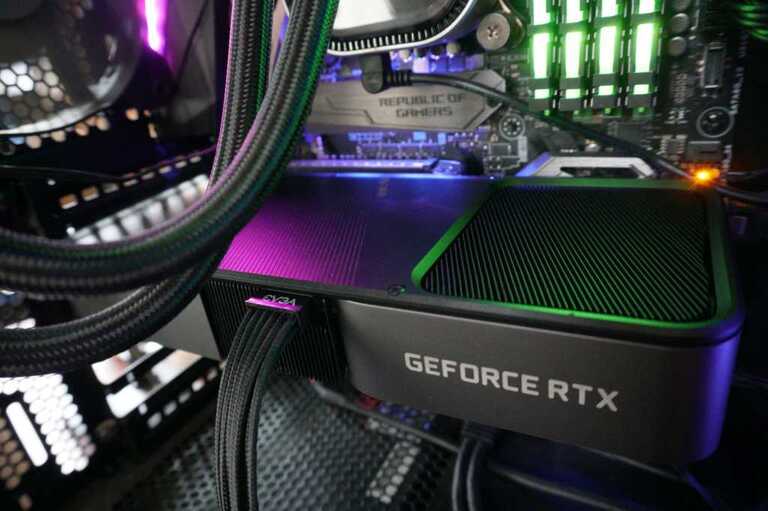
For the most important part of the gaming PC, take with you a PCle of 16 slots. It should have 16 slots because you may want your GPU to have space. In this step of installing the GPU, you can remove the odds and ends to fit your GPU perfectly. As your GPU has seated well, secure the item with screws to the PC case.
Installing Storage
When putting in the storage, you will find the drive bay in your PC case. For storage, they often come in 2 sizes, which include 2.5 and 3.5 inches. Bays of 3.5 inches can deal with the 2.5-inch storage but not vice versa. If your PC has a tool-free bay, you just need to slide the storage in. If not, you will find a metal bracket with holes or slats. Take the screwdriver and screw to secure the storage into place.
Installing Operating System
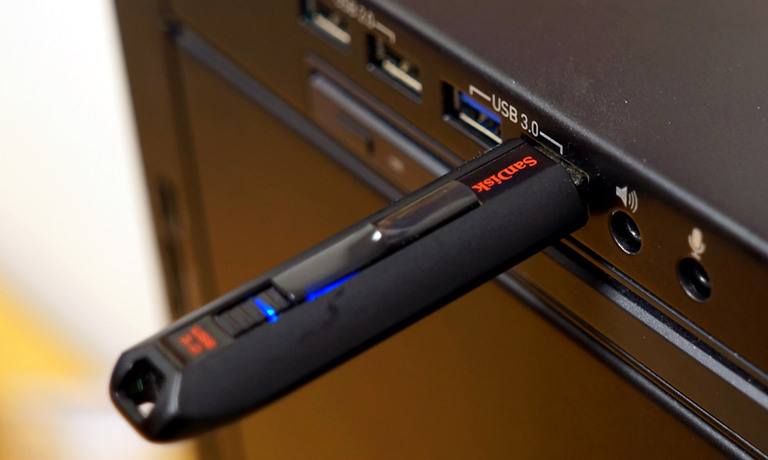
You need to have a USB flash containing your OS (operating system) and now plug it in before turning on your computer. First check all the components installed, and ensure that they are all recognized. Then find on your screen the Boot Order, which is around the BIOS. Change the USB flash to be the first drive you want to use. Restarting is the last step and it is ready for usage.
3. Self-Built VS Prebuilt Gaming PCs
In this section, we will point out the advantages and disadvantages of self-built and prebuilt gaming PCs. Benefits and drawbacks exist in both items. The essential term to remember here is compatibility.
Self-Built PCs
Self-built PCs are the best option when you are a fairly tech-savvy person. It is not a stereotype, but we believe most gamers belong to this group, sooner or later. The benefits of a self-built gaming PC are your customization to suit your in-game demands and sense of achievement. For self-built PCs, there is barely anything called the limit. You can search or refer models online if you wish and make relevant changes to match your needs.
However, the drawback of self-built PCs is the complexion in the setting up process. You will need some practice and detailed guidance to follow, which can still have an error.
Prebuilt PCs
Prebuilt PCs are a more ideal option if you are a newbie to the gaming world, and you haven't been so technologically proficient. Prebuilt PCs cannot get your desired customization applied to them, because they are all following the process of the maker. The limit, in the current context, is a compatible term to describe.
On the other hand, prebuilt PCs are tested and ready to use right after your purchase. You don't have to be technology advanced when taking the prebuilt. As a result, you have time to study your PC and all the settings needed. For the next time, you can get your self-built and customized gaming PC if you wish. From our point of view, there is no superior section in this case, but a more compatible one.
Conclusion
Building a gaming PC is a complex task to carry out, we believe it to be. The process can be faulty whilst conducting, and technical mistakes are usual if you make some. Hence, there should not be a harsh feeling when your gaming PC does not appear to operate smoothly at the first trial test. When engaging in such a situation, you should recheck the steps to figure out where the issue lies to solve it. We hope the article has been helpful to you and we wish you the best of luck with your self-built gaming PC.


