Wall hangings are considered affordable and flexible wall arts for many shoppers. Contrary to the expensive paintings or sculptures, tapestry wall hangings only cost you around 60 dollars, and barely go higher than this range. However, if you wish to spend even less on tapestry wall hangings, why not try to make one? Here is our guide on how to make tapestry wall hangings.
More About Wall Hangings
Wall hangings are more likely to refer to all wall arts that can be hung up. This term does not limit the choice of home decorators for shoppers. They can do with more than just tapestries, which are known as a small branch of the wall hangings. Wall hangings, whether purchased or DIY, can come from numerous materials. Sustainable materials are advisable for the sake of environmental and long-term usage.
Differentiate A Tapestry Wall Hang And Others
Firstly, we would get to know more about the tapestry. The term tapestry simply means a form of textile art. More people are interested in this home decorator because they meet the demands of sustainability and affordability. Whether they are mass-produced or hand-knitted, they are still adaptive to these two criteria above. The difference that distinguishes tapestries from other wall-hanging art forms is their makings from textile. They can have variants, based on the factor, however, this is not so significant.
How To Make Tapestry Wall Hangings At Home?
We would now discuss further the guide on how to make tapestry wall hangings at home. You can do it in two ways as printing-assembled ones, which means that you can draw on it or have it printed. The second tapestry wall hanging type is yarn which does not require any printing or painting. Here is our detailed guide.
Preparation
- Canvas: instead of doing your tapestry wall hangings on a large sheet of cloth, we highly recommend you prepare a canvas. Canvas sheets are easier to work with, especially for those who are new to drawing and DIY hangings. You can prepare a set of 3 or 4 canvas sheets or 1 large one if you can handle the tapestry.
- Paints: Choosing acrylic paints to make your DIY tapestry wall hanging is not a bad idea. They are easy to maneuver and dry so much faster than other types of paint. Acrylic paints are definitely a must for beginners.
- Frames or dowels and string: You can frame the canvas to hang it up or place it on a surface if you think the tapestry is not lightweight enough. Dowels are workable for both types of tapestries guided in this article as yarn and printing-assembled ones. Dowels are effortless to deal with, and they are no less satisfying, in terms of appearance.
- Nails and hammers: Nails and hammers are used to install the tapestries once you have finished making them. They are easy to find and have no difficulties when doing their tasks of supporting the tapestry. If you are not going to do canvas tapestries, but softer textiles are your choice, you can simply use push pins to install.
- Scissors: Scissors would be necessary for yarn tapestries if you are going to make one. Yarn tapestries are usually soft to cut, so there should barely be a concern. Also, scissors can be helpful too, if you need to adjust the sizes of the textile sheets you use.
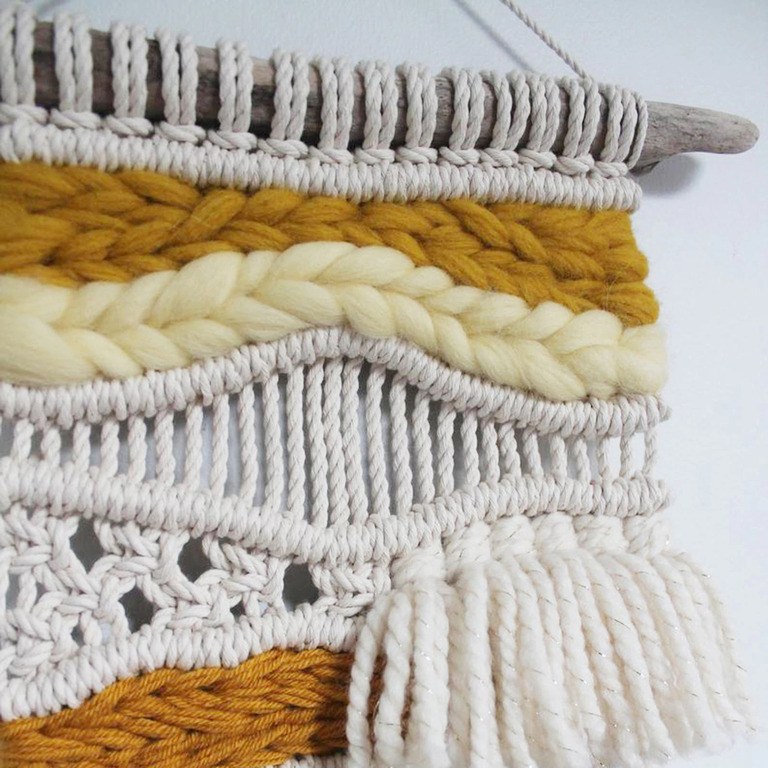
- Skeins of yarn: this is the major material for a yarn tapestry wall hanging, so it is going to make our list. Select any color you would love to have on your tapestry wall hanging.
- Adhesive: Last but not least, use adhesive to stabilize the position of the first-wave yarn when you are making one. It is not compulsory, but we really suggest using one.
Printing-assembled
Our second part in the guide on how to make tapestry wall hangings is the printing-assembled. This would be for people who want to recreate a picture they love. The preparation part has been mentioned above. Now it is the right time to check the steps.
- Step 1: Check the size of your canvas or textile sheet chosen and compare it to the spot where you would hang them. If the large sheet is divided into 3 or 4 smaller ones, double-check to see if they are even.
- Step 2: As you have done with measurement, make a line for the dowel if you are going to use them later, or create 2 holes for the string to go through later on. If not, you can skip this step
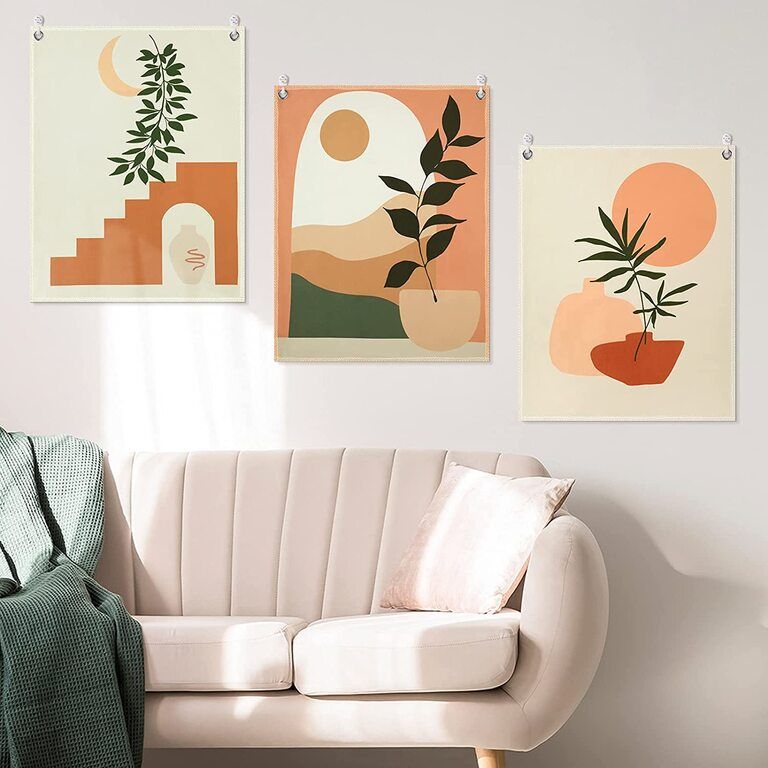
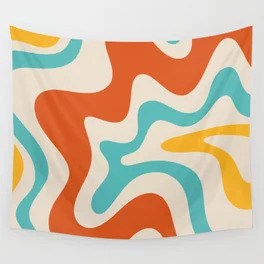
- Step 3: Now should you have an example of what you are going to paint on the tapestry, it is going to get easier and faster. Or else, start the drawing on the tapestry. Some of the recommended patterns or drawings we have for you are geometric patterns, scenery, animals, and words of motivation. Choosing a scenery or animal would be a bit challenging for beginners, but geometric and words require much less effort.
- Step 4: Since you have done the drawing, take a while for your painting to dry. As it has gone completely dry, framing or hanging it with the dowel and string is what to do next. Hang it to the desired location, and we seem to have fulfilled this DIY project.
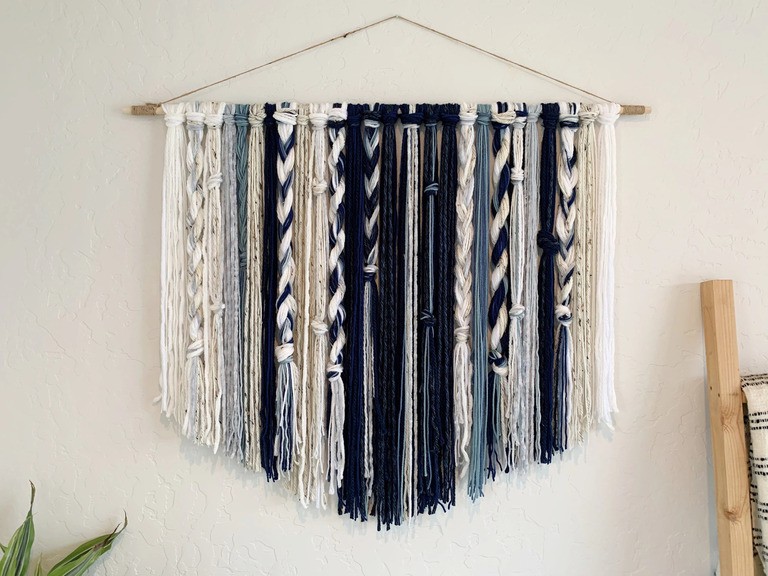
Yarn
- Step 1: Do the measurement as the previous guide on the drawing tapestry wall hangings. Determining the size and spot, then take out the skeins you have for knitting.
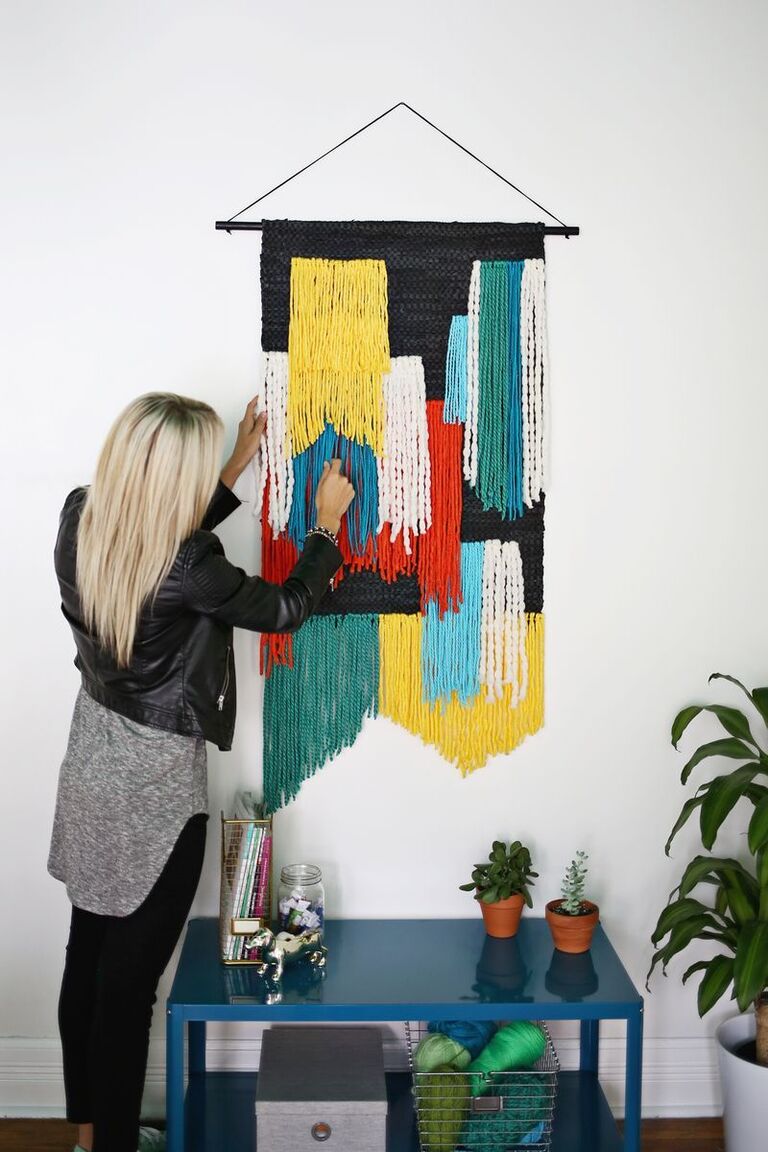
- Step 2: Choose a certain pattern to knit the skeins and start working on it. Remember to do this with your dowel and adhesive, if you think the skeins are not stabilized enough.
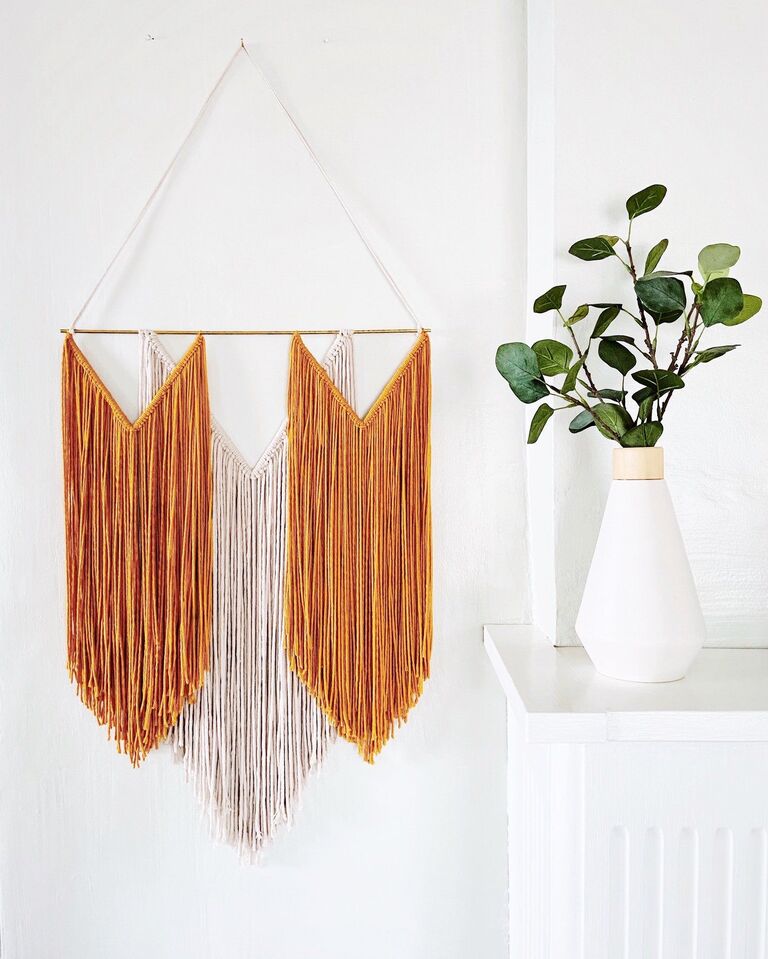
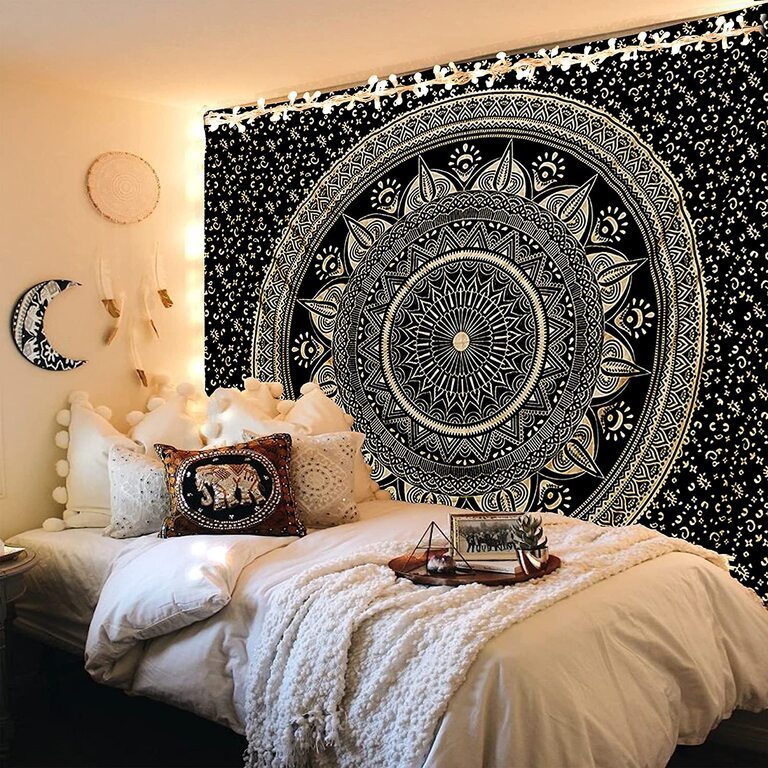
- Step 3: Stabilize the yarn tapestry with the string and dowel to hang it up. This would not be triggering you because no drilling or hammering is needed. Hang it up then you have completed the project. The tapestries of this kind are absolutely ideal for Bohemian homes.
Tips To Preserve Tapestry Wall Hangings
Our last section is devoted to how to preserve your tapestry wall hangings, once you have finished making them. The rules are simple. You should not do any machine wash for both types of tapestries on the above guide. Also, a mild rinse occasionally is recommended. Moreover, you should not iron the tapestry because heat can lead to distortion issues and shorten the lifespan of the tapestry.
For storing the tapestry, keep it in high and dry places. Placing the tapestry where it easily gets in contact with water or faces the risk of fire breakout is the last thing you want to do with your DIY wall hangings.
If you can have any professional service to clean the tapestry, go ahead and call them once or twice a year to keep up the look of your tapestries and other items around the house.
One last note for DIY tapestries is that if possible, house owners should have their tapestries processed with protective layers of chemicals to make them fire-retardant and fire-resistant. Those are all the rules to keep in mind when it gets down to tapestry preservation.
Final Thoughts
We have come to the final lines on the topic of How to make tapestry wall hangings for DIY project lovers. Hopefully, with all the information pieces provided, you can now get down to your project and start making one!


