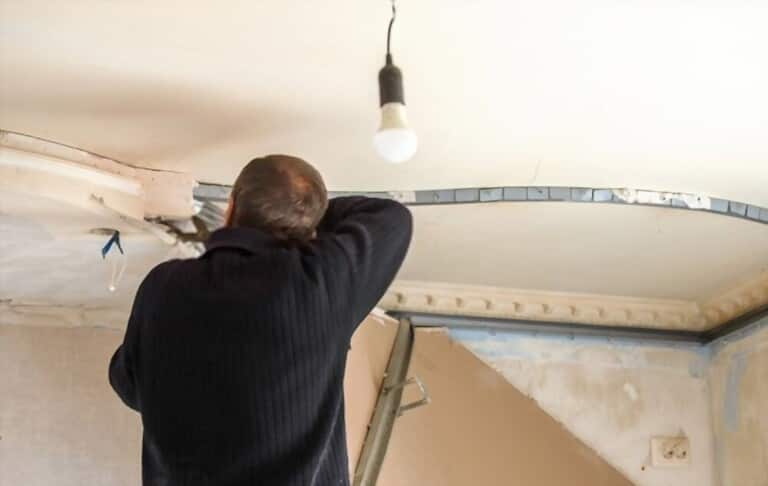
Less attention is paid to ceilings than to walls or other surfaces. However, ceilings offer design possibilities. Although most ceilings are typically painted flat, there are several ways to cover a ceiling. A room's ceiling tiles may give it a unique feel. Furthermore, ceiling tiles might conceal aesthetic issues with the existing ceiling. And here are some steps how to install surface mount ceiling titles.
How to Install Surface Mount Ceiling Titles
Tile Drop Ceiling Installation
- Mark the Drop Ceiling's Proposed Height
With a helper, you can measure the drop ceiling grid's height more easily. Measure the distance from the present ceiling to the desired location using a ladder. Running a rotating laser level around the wall's ceiling height can help you achieve a level finish if the current ceiling is not level.
For each of the four walls, note the height at the opposite ends using a pencil. The next step is to apply the chalk snap line to each of the four walls. A friend or helper can hold one end while you hold the other at this point.
Measure from the present ceiling to the anticipated height of the drop ceiling while standing on the ladder. Many drop ceilings need you to lower the grid by at least 3 inches below the current base ceiling; refer to the ceiling's directions for further information. Make a pencil mark. For each of the four walls, take measurements at two different ends.
- Draw a Line Around the Room's Periphery
For each of the four walls, draw a line in chalk from end to end. While you hold the other end of the snap line, have a helper hold the other end. Snap the line after pulling it taut.
Measure only at one point if you wish to lower the ceiling to a level position without using the current base ceiling as a reference. On that point, rotate your laser level around the room. Your chalk line should be snapped onto the laser line.
- Set up the wall tracks
Find every stud with the stud finder. Make a pencil mark on the walls far beyond the height of the eventual ceiling. Install the wall tracks onto the studs using a hammer and nails. The rails and chalk lines must be at the same level.
- Find and position the main track in the center
Find the room's center on the opposing walls using the tape measure. Run along this middle line with the main track (also known as a main tee).
- Find and position the side main tracks
Run extra main tracks on either side, using the central main track as your guide. The width of the ceiling tile should be the same for each additional run. The final main track run should not be wider than a ceiling tile.
- Organize and bend the hanger wires
Look for the ceiling joists with the stud finder. The eye-hook screws, which are part of the package, should be inserted into the joists directly above the main tracks or no more than four feet apart. Eye-hooks are used to loop the kit's hanger wires. Bend the wires at 90-degree angles with the pliers and insert them through the holes on the main tracks.
- Find the Crossing Tracks (Tees)
Create 90-degree angles between the cross tracks (or tees) and the main tracks. The distance between the cross tracks should equal the length of the ceiling tiles.
- Place a ceiling tiles in place
Drop the ceiling tiles into the drop ceiling structure from above while still standing on the ladder. Each tile can be placed in a separate area of the grid.
Surface Mount Ceiling of Tile Installation
Next step in listing how to install surface mount ceiling tile is tile installation.
- Calculate exactly the necessary number of tiles
To determine the area, multiply the room's length by breadth. Round up how many ceiling tiles there are. If the area is 98 square feet, for instance, round that number up to 100 and then add 10% for waste.
- Make the ceiling ready
Remove any blemishes or blemishes from the ceiling. Be sure to remove any noticeable parts before covering a textured or popcorn-style ceiling. Apply one layer of primer to the textured ceiling if it isn't already painted.

- Begin with the middle of the room
Find the room's center using the tape measure and pencil. Use the chalk line to make a "+" form. The "+" should have its legs parallel to the adjacent wall on each leg.
- Put the adhesive on
The first tile should have a light pencil mark in the middle of each of its four sides. The tile's back should be covered with construction adhesive.
- Tile the ceiling how you like
Apply to the center of the ceiling, aligning the chalk lines and pencil markings. Utilizing the paint roller, roll back and forth repeatedly while applying strong pressure to the ceiling. Once you're confident that this tile is adhering, move on until you reach each wall.
- Tile the Ceiling in Half
Cut the ceiling tiles at the ends using a utility knife or scissors. Up till you reach the extremities of the room, keep adding rows.
What Ceiling Tiles Can Be Installed Easiest?
One of the simpler ceiling tiles to install is cork. It may also be a different approach to adding texture to a ceiling.
According to Chris Scott, cork is a simple tile to place on a ceiling since it is only 1/8 in (3 mm) thick, light, flexible, and simple to cut and handle on the job site.
A typical error is to put the cork tile too quickly on a freshly plastered surface. "To get a perfect finish, it's necessary to make sure that the right installation technique has been followed," says the expert.
Conclusion
Learning how to install ceiling tiles will enable you to reconsider the aesthetic of a space and offer a distinctive and aesthetically pleasing substitute for flat paint. Although it is less frequent than painting the ceiling, tiling the ceiling may be a fashionable substitute and be used to conceal imperfections in the current ceiling. If you've looked into how to remove popcorn ceilings but prefer the notion of covering it instead, give it some thought as well. Tile is a terrific alternative for doing so. Another excellent approach to incorporate trendy materials is through ceiling tiles. Hope above steps and how to install surface mount ceiling tiles will help you.


