Installing a shower wall surround is surely not an effortless task for any DIY lover. That's why we are here to help show you the process. Our article below would focus on a DIY guide on how to install shower wall surrounds (panels and tiles only).
For whole-constructed items, you are advised to require professional services to avoid any unwanted situations. For tiles and panels, the installation should not trigger you into many difficulties, and here is our guide with several relevant acknowledgments around the subject.
What Is The Shower Wall Surround?
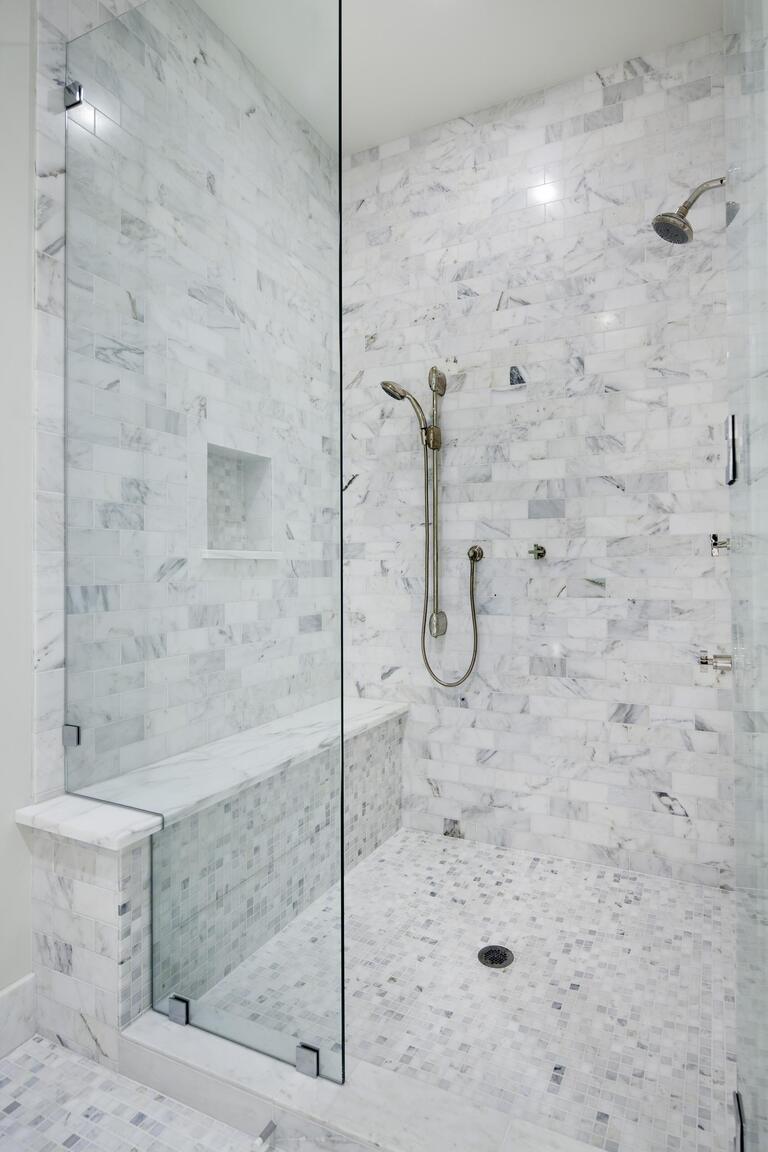
A shower wall surround can be defined as a home tool in the bathroom that functions as a protector from mold, bacteria, and water pour-outs, and it maintains the state of being clean and neat in your bathroom. A shower wall surround can vary in a huge range of prices, from 350 dollars to 1300 dollars. It is highly dependent on the types and providers that shoppers choose to purchase from.
Reputed manufacturers are well-known for their work and quality. As a result, they can charge you with average to high price tags. Nonetheless, that does not mean that you cannot purchase a shower wall surround that has premium quality at an affordable price from any other provider.
When Did It Come Into Use?
People have yet to discover an exact timeline indicating when the shower wall surround came into use or had its official name. However, some suppose that it appeared long ago with the birth of the shower in the 1700s.
Some would say differently because they associate the shower wall surround with the shower curtain, which has a similar function to our bathroom. Others may say it appeared as soon as the bricks for the floor came. The debate goes on and until now, there is barely an indication of the birth or official recognition of shower wall surrounds.
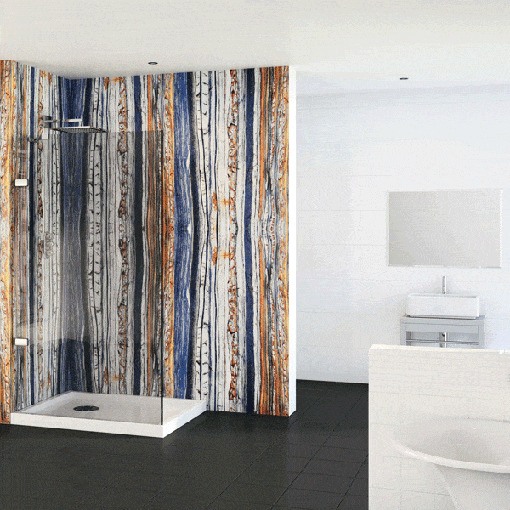
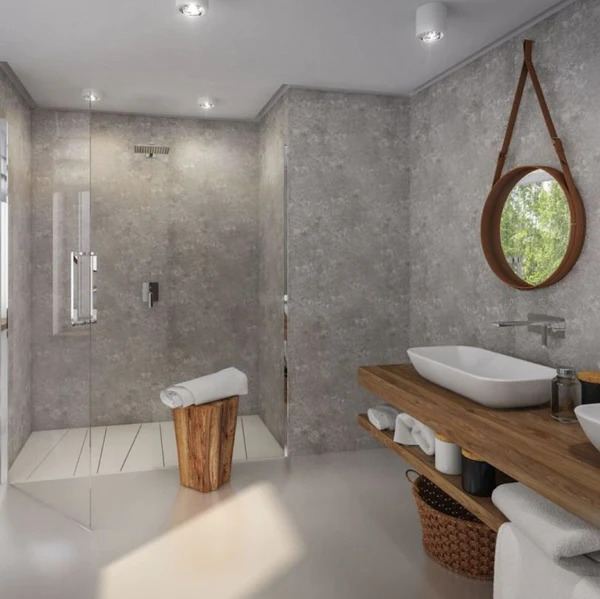
What Are The Types Of Shower Wall Surrounds?
Types of shower wall surrounds can be classified in numerous ways from price ranges, constructions, materials, and even door types. For this article, we are focusing on the installation type.
There are only two types of installation - self-installation or professional installation. The installation type refers to the construction - whether the shower wall surround can be adjusted and stick to your walls or must be installed as a whole construction from its beginning. The whole-constructed shower wall surrounds are also much more expensive than tiles or panels.

A Detailed Guide On How To Install Your Shower Wall Surround
Eventually, we have reached our major part of the article - a step-by-step guide on how to install shower walls right at home without any additional expense. Firstly, we are going to pick up on a few items that are compulsory for the part Process in the section of Preparation.
Preparation
Several items should be prepared in advance to ensure that the process of installing a shower wall surround does not engage in any issue. The list includes:
- Shower wall surrounds
- Jigsaw
- Primer
- Cloth
- Caulk
- Sandpaper
- Drillers
- Screwdrivers
- Screws
- Utility knife
- Tape measure
- Chemical caulk remover (not compulsory)
- Panel/ tile adhesive
- A marker
Check for the manufacturer's package if there is any tool coming with it. Manufacturers may provide you with several basic tools to install the shower wall surround. If there is no tool available in the package, prepare all the tools and materials on the list above. You may prepare some other tools in advance apart from the list, should you think they are important.
Process
Stage 1: Wall preparation
In the first step of wall preparation, there are a few tasks that need conducting thoroughly. You should use the screwdriver to remove all hardware. The hardware in the shower can get damaged during the process of installation. Don't forget to mark their places on the wall for later reinstallation as well.
As you have taken down all the parts that must be protected, you can now begin to give the wall a mild rub with the sandpaper. In case you have old panels stuck on the wall, you have to remove them first. Use the chemical removers if necessary. Remember to wear gloves to avoid any skin damage.
Rub the wall mildly after you have completely put off the old tiles or panels. Give the wall another mild cleanse with a soft cloth. Now it is time for you to add a layer of primer. This would be helpful for your installation and keep the panels stay tighter and longer. The last task to carry out in this stage is waiting for the wall to fully dry out.
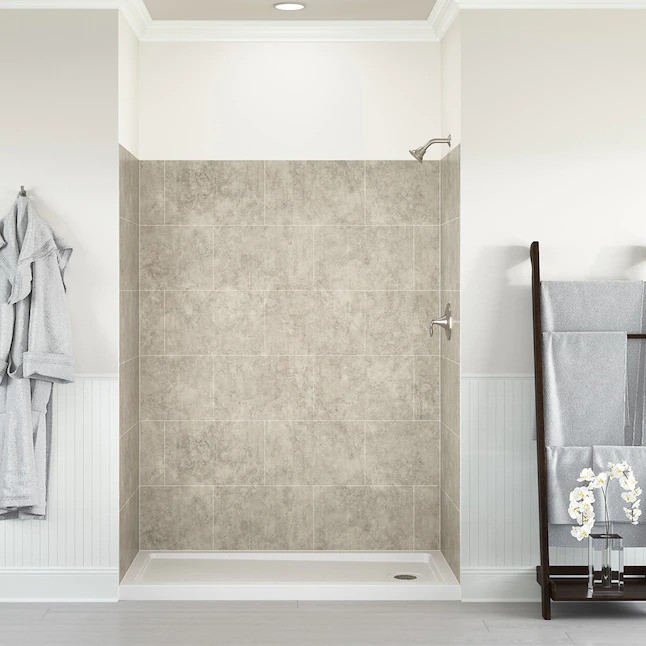
Stage 2: Panel/ Tile Installation
We have come to the stage of inserting the panels. For this stage to go through smoothly and precisely, take the tape measure and go for the exact figures of your shower wall. You can take notes of the figures if that is compulsory for you. As you have the measurements, you shall determine how many tiles or panels you need. After that, marking the positions of the panels or tiles on the wall may help your installation go faster.
The next step is to grab the number of tiles or panels you need as well as divide the tiles or panels if you must. Do it with your jigsaw and remember to check again once you have done dividing the sheets.
Following the measurement and division, you can now insert the panels into the wall according to the positions marked. Before you do this, read the instructions from the provider to acknowledge any special note of applying adhesive and caulk to the panels. As you apply the adhesive to the panels, do it evenly, and don't apply too thick layers. That is not advisable and may have vice versa effects. Stick them against the wall and then wait till the adhesive has completely dried.

Stage 3: Completion
There you have the last stage in this installation instruction. We would now reinstall the hardware taken down. They should be reinstalled in their right spots. Check for solidity after your reinstallation if needed.
Also, you need to solidify the panels with caulk. It is best to have a caulk gun. Take the caulk gun and seal all the panels or tiles inserted. Let them dry out before you use the shower again. The ideal time for your first usage after the installation is 24 hours after it.
This time point is safe enough for almost every case. The adhesive should not meet any watery contact. In case you install large areas of shower wall surrounds, you may have to wait for more than 24 hours for all the panels or tiles to be entirely dry.
Notes
The caulk applied during this installation process must be workable for the materials making the panels or tiles. However, it should not be an issue because most caulk items sold these days are usable for numerous material surfaces. They have the exact information of which surface can handle the caulk.
Finally, the panels or tiles should be emphasized in terms of materials. PVC shower wall surrounds are lightweight, fire-retardant, and fire-resistant in many cases. But they are not the most solid ones. Stones and metals are stronger performers, nonetheless, some may not be tolerant of water and fire hazards.
Final Thoughts
As you install the shower wall surround, check for the details and functions of all the materials you purchase, for instance, the caulk and adhesive. You should also check the manual instruction from the manufacturer if it exists. That is all of our instructions on how to install your shower wall surround (panel or tile installation).


