Horizontal sheer shades are no strange items for any homeowner. They offer benefits at an affordable price. In the article below, we would discuss further the topic of horizontal sheer shades, especially the step-by-step guide on how to install such items around your house, also other information that is relevant to the horizontal sheer shades.
Getting To Know More About The Horizontal Sheer Shade?
What is it?
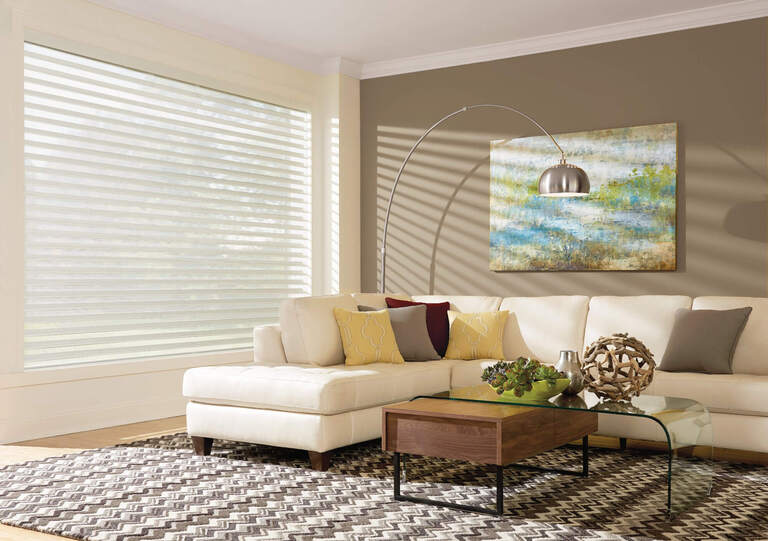
Horizontal sheer shades, although no odd or strange concepts to many house owners, still have a quite confusing name to others. In short, the term "horizontal sheer shade" is used to describe a window covering, whose major function is to soften and reduce the light amount penetrating through your windows.
Where and How Much Is It?
You can purchase horizontal sheer shades almost anywhere, both online and offline. On e-commercial websites, the horizontal sheer shades should cost somewhere 60 dollars for a high-quality to a premium pair. There are also different price ranges for horizontal sheer shades. They can vary from 40 to 80 dollars and more. The cost can depend on numerous factors, including manufacturers, thickness, and material quality.
Material Types Used To Produce Horizontal Sheer Shade
Materials used to manufacture one horizontal sheer shade can vary from one to another. Since the feature of horizontal sheer shade is softened, and they play the role of covering but still let the light in, they are made of fabric or fiber in most cases. The fabric can be synthetic and polyester - the two most popular ones.
In other situations, the material used can be high-quality PVC. Each of the materials is ensured to be fire-retardant and fire-resistant. The more expensive your horizontal sheer shades are, the more thorough the process they must go through before reaching the final consumers. Nonetheless, this does not coincide with the affordable items that are of low quality. Some can be a real bargain.

How To Install Horizontal Sheer Shades At Home? A Step-by-step Guide For You!
As we have informed you with basic details about the horizontal sheer shades, this part would focus on how the installation process of horizontal sheer shades starts and ends. We divide this into two primary sections, which consist of preparation referring to tools and materials you need for the installation, and installation indicating how you can put on the horizontal sheer shades.
What is in Preparation?
Before getting your hands on the horizontal sheer shades and inserting them properly, you had better prepare these tools for a smooth and effortless process later on. We highly recommend you have the items on the list below in advance:
- Screwdrivers and screws (1.25-inch long hexagon and 2-inch flat head)
- Driller
- Level knife
- Tape measure or relevant measures
- Markers or pencils
- Horizontal sheer shades
- Shade brackets (usually included in the set)
- Compatible extensions with brackets (optional)
- Heavy-duty scissors
- Lighter (optional)
The Installation Process
There are two types of installing horizontal sheer shades, including internal and external. We would do both in the below instructions. For internal installation, it can be simpler than the other, taking less time and effort, as well as other resources.
Type 1: Inside Mounting
We would now inform you of the process to install the inside-mounting horizontal sheer shades. The steps would be as follows:
- Step 1: Marking and measurement
The first thing to do in this process is to take out your horizontal sheer shade set. Since this is a home-installing item in most cases, you would be provided with the necessary odds and ends for installation. As you open the set, you should see the shades, brackets, pelmet clips, etc. Now take a close look at the sheer shades, you would see some holes. They are meant to help with the hanging later. Besides, there are holes for putting together the brackets and pelmet clips.
Take the measurements for each length and width for the following hanging of both shades and your window. Then, take your marker or pencil to mark their positions. This would be the only indicator for precision.

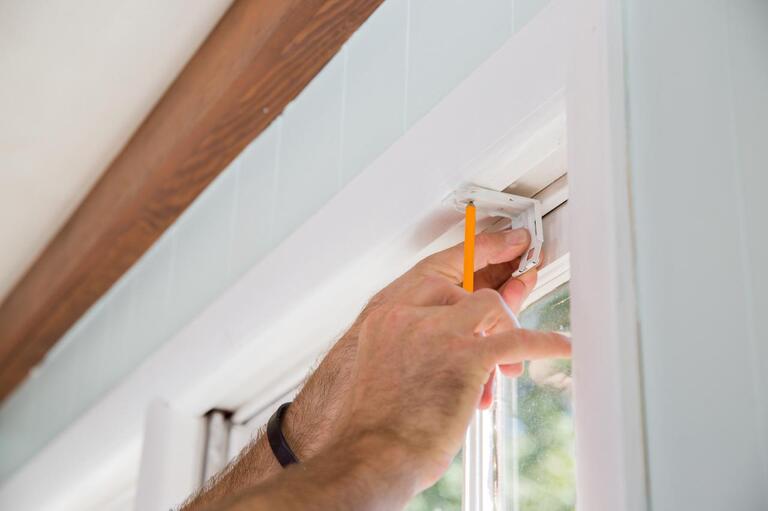
- Step 2: Hanging the horizontal sheer shades
In this step, you should first read the manual instruction. As you have marked the needed figures, bring out the driller and prepared screws. For the screws, they may be included in the package already. Take the screws that are in the set if available.
Then take the headrail and put each mounting bracket in its exact position. These are mentioned in your manual instruction. Once you have done that, the driller and screws would serve you in hanging the headrail up. If you don't want to use the driller, a screw gun can also work. Stabilize the position of the headrail on your window first. As we are doing an inner mounting, the headrail should be hung right under the window frame.
Make sure that the headrail is solid. It is time for the sheer shades to be hung up. Based on the type of sheer shades you purchase, there would be either a clip for knotting or not. Put the shades on with the support from mounting brackets.
- Step 3: Adjustments
Now it is time to adjust the length of the horizontal sheer shades. This is flexible because it is according to your window's height and your wish. If you must adjust the length, take the scissors and cut the unnecessary part. Then lit the lighter and let it heat the ends of the strings left out quickly for no splittings. Do as the instruction given with the set to put on any additional part together.
Type 2: Outside Mounting
The process for installing outside mounting horizontal sheer shades is quite similar to the inside one. However, it would be a little more difficult as you need some extensions and pelmet connectors.
Do the measurement and marking just like the inside mounting installation. However, you would not install it under the window frame, but above the window. As you have done all the measuring and marking, install the headrail in advance. Add up the pelmet clips and connectors as per your manual instruction and they should be in the marked positions.
Now hang up the sheer shades and do the adjustment the same as guided in the previous section. In our next part, it would be the cleaning procedures to keep your horizontal sheer shades in the finest conditions.

Cleaning Procedures To Keep Your Horizontal In Fine Conditions
Cleaning solutions - shoulds and shouldn'ts
- Vacuuming: vacuuming is the most effortless cleaning and does not cost you any expense for professional cleaning. This is effective for the dust but not workable for a spot or liquid-based splotches.
- Spot cleaning: spot cleaning is not so recommendable for sheer shades. It is best for households to stick with vacuuming regularly.
- Dusting: a light dusting clean is suggestible daily or a few times a week to keep your horizontal sheer shades in the best conditions. This also helps to minimize the most damage caused to the fabric.
- Forced Air Blowing: using compressed air force to blow away all the dust is recommended. We rate this cleaning solution a 9 out of 10. This is suggested to be conducted once or twice every month.
- Ultrasonic cleaning: ultrasonic cleaning must be carried out by professional service providers. Gentle detergent is advisable. Harsh ones can damage your shades easily.
- Injection or Extraction: here is another professional cleaning, and it is recommended if you have the time and budget to conduct it.

Final Thoughts
Our topic has come to its last lines. There are two types of installation for horizontal sheer shades. The inside is more advisable if you are new to this DIY installation. Also, keep in mind the cleaning solutions to keep your sheer shades as fine as possible.


